Agentic Workflow Tab in Workspaces

In both UI16 and in Workspaces, you can interact with your agentic workflows (AI agents) via the sidebar. Worth noting: this will only display agentic workflow runs. The workflow can be super simple — it can just be used to call a singular agent — but it must be a workflow all the same. Check it out:
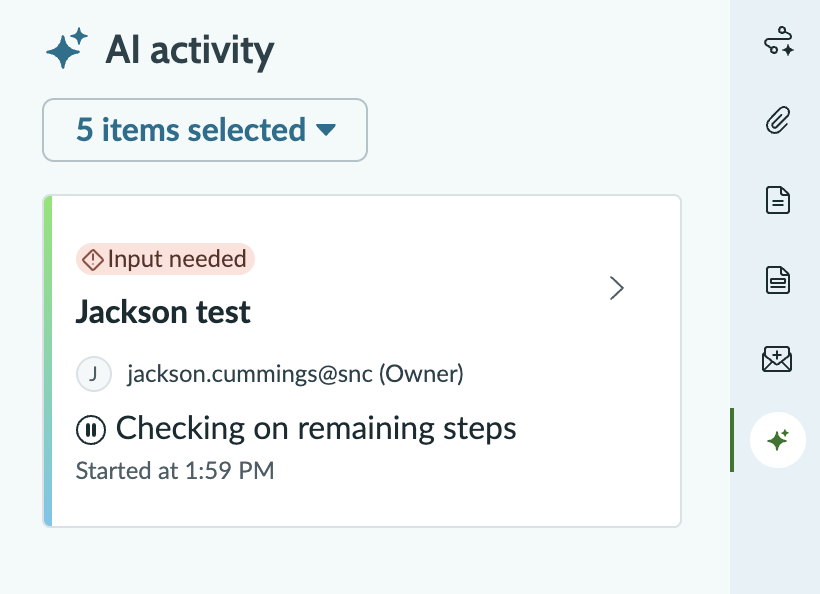
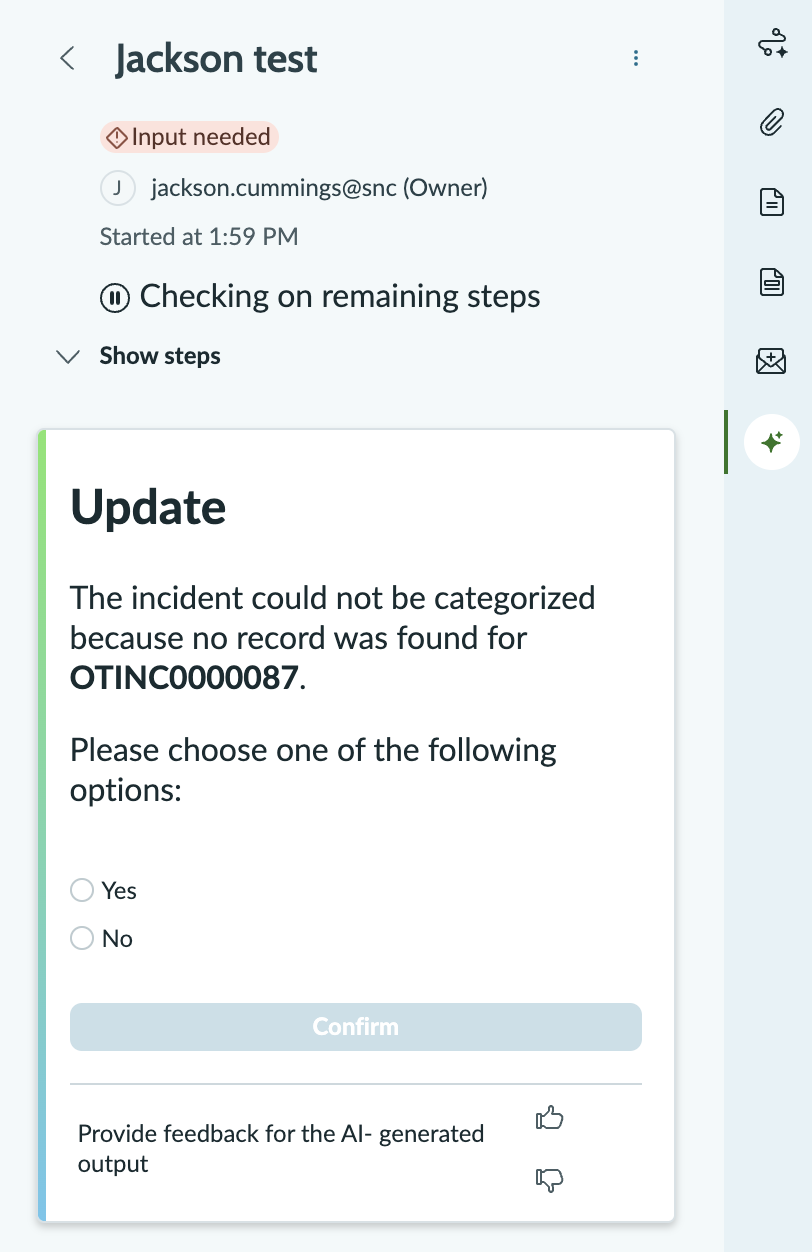
For this use case, I created a workflow called Jackson test that just contained an OOTB agent. My prompt basically just said “Call the OOTB agent and then ask the user to select Yes or No.” Purely to demonstrate that you can surface input variables.
All that said, here’s how you set it up in UI16 and in Workspaces.
Pre-requisites
You need a system property com.glide.agentic_processes_view.enabled that is set to true. If this doesn’t exist, create it in the global scope. Give that a Google if you need more guidance.
UI16
This could not be simpler. Modify your Form Layout and pull in the AI Activity Sidebar Experience formatter. Save and you’re done. Rinse and repeat for every table/view you want this to apply to.
Workspaces
Slightly more complicated, but still not complicated. We’ll be popping into UI Builder to make some edits.
Start by opening the record page that you want to target. For me, I’m doing this in Service Operations Workspace on the Record (SRP Record) page.
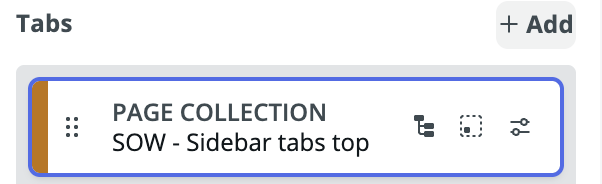
Using the sidebar on the left, search for sidebar and choose Tab sidebar. On the right side of the screen, under the Configure tab, you should see a little card under the Tabs section titled PAGE COLLECTION. Click the Edit content button.
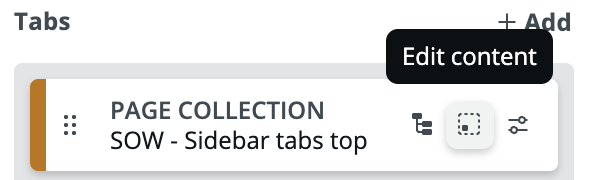
This will open a new page collection editing page… lot of words… it’ll look like this:
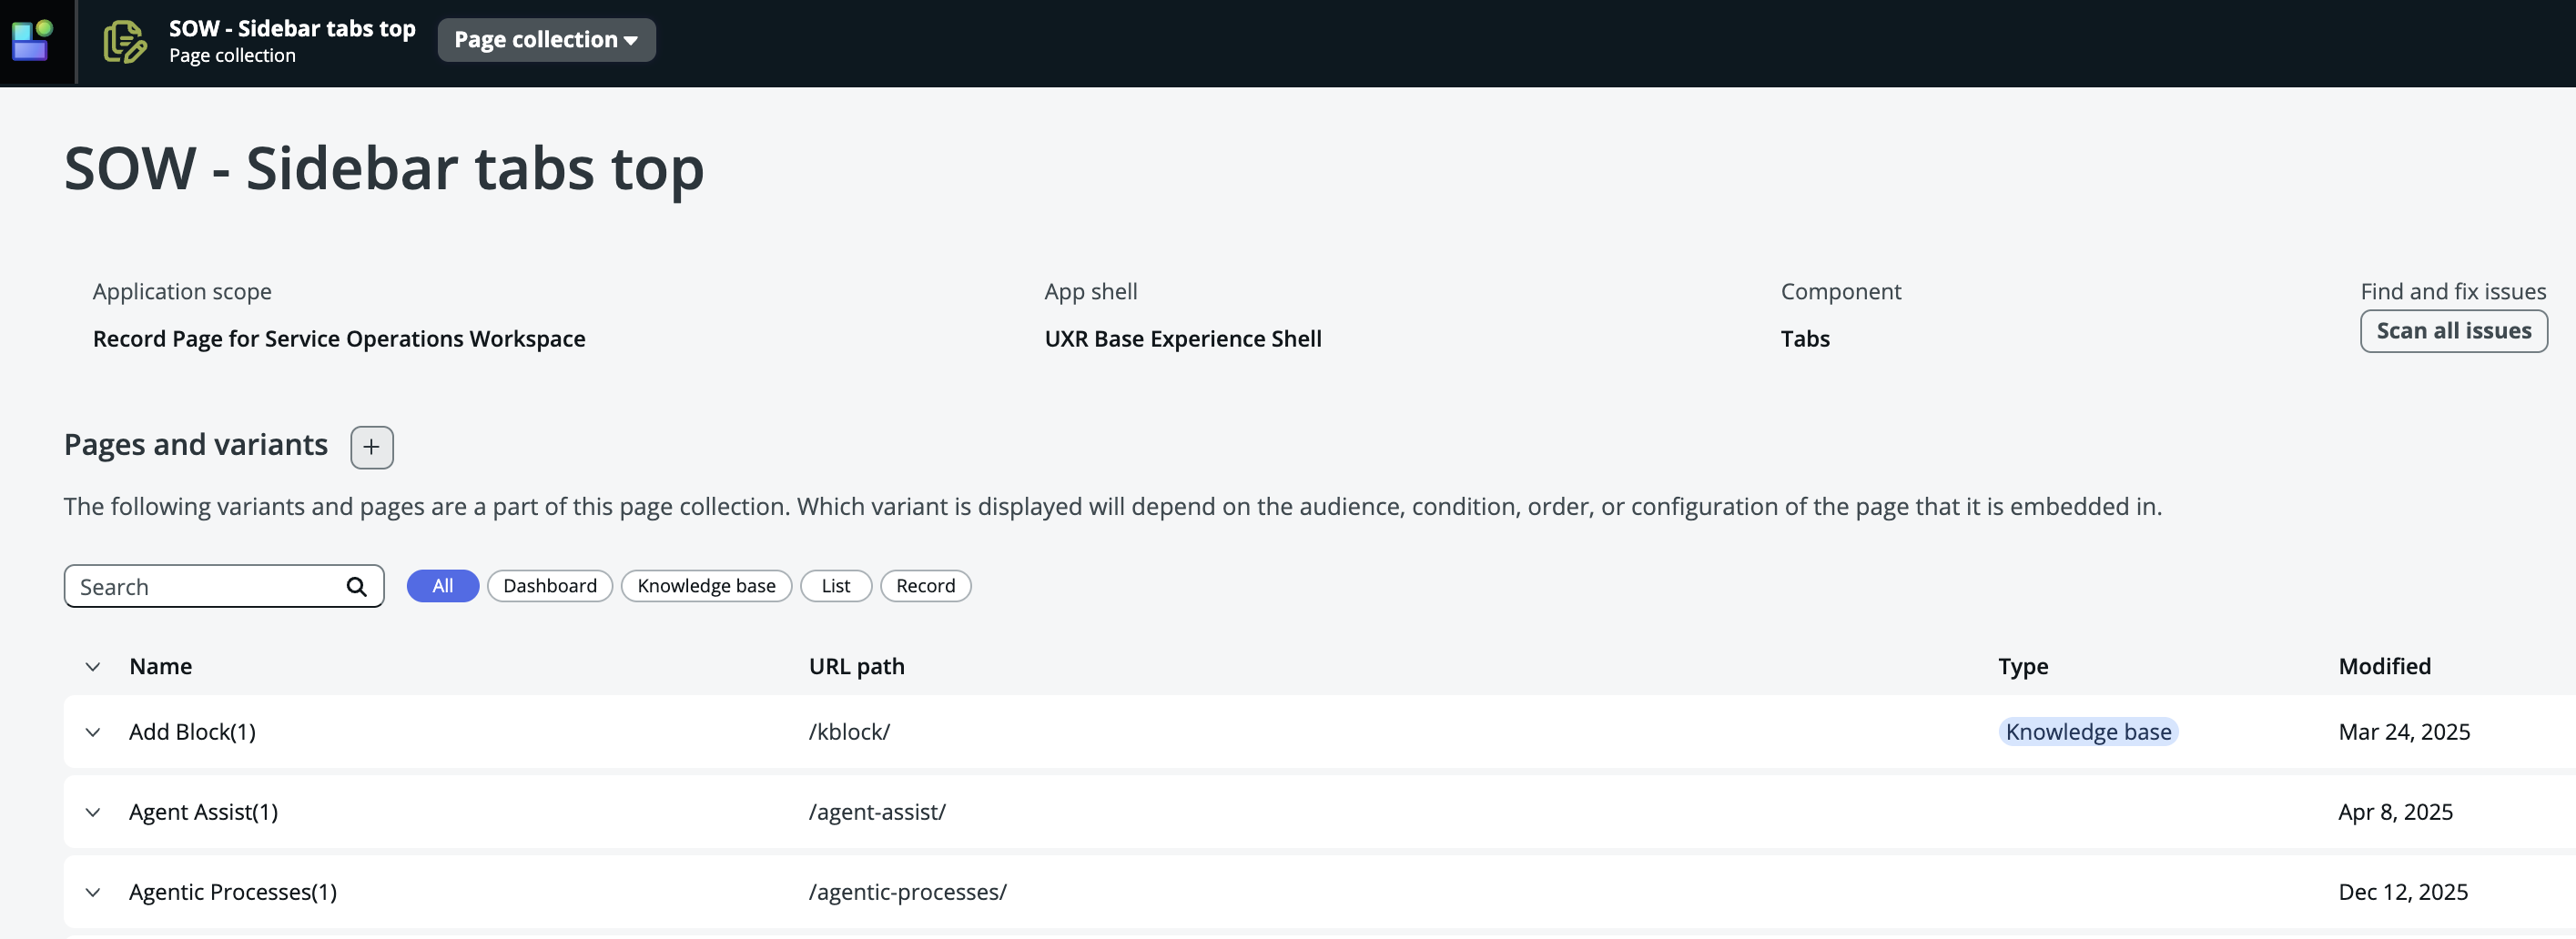
Click the [+] next to Pages and variants and then choose Create a new page from the pop-up. Name this AI Activity and then proceed. Enter the name value (AI Activity) into the name field on the next page, and then continue again, and make sure you have Build responsive selected on that final page before clicking Create.
This will return you to that previous page. Find your AI Activity container and then Open settings via the gear icon on the right.

Modify the Order to whatever you want. You’ll also create a new Screen condition with this script:
(function () {
  return gs.getPropertySecured('com.glide.agentic_processes_view.enabled', false);
})();
If you want to restrict this to a certain table, you can do so in the conditions. Just set a value like InputTable **is** tableName.
Next, flip to the Editor tab at the top of the screen. Add content: a single column, and then add Interactive View Experience inside that column. Save and you’re done with this step.
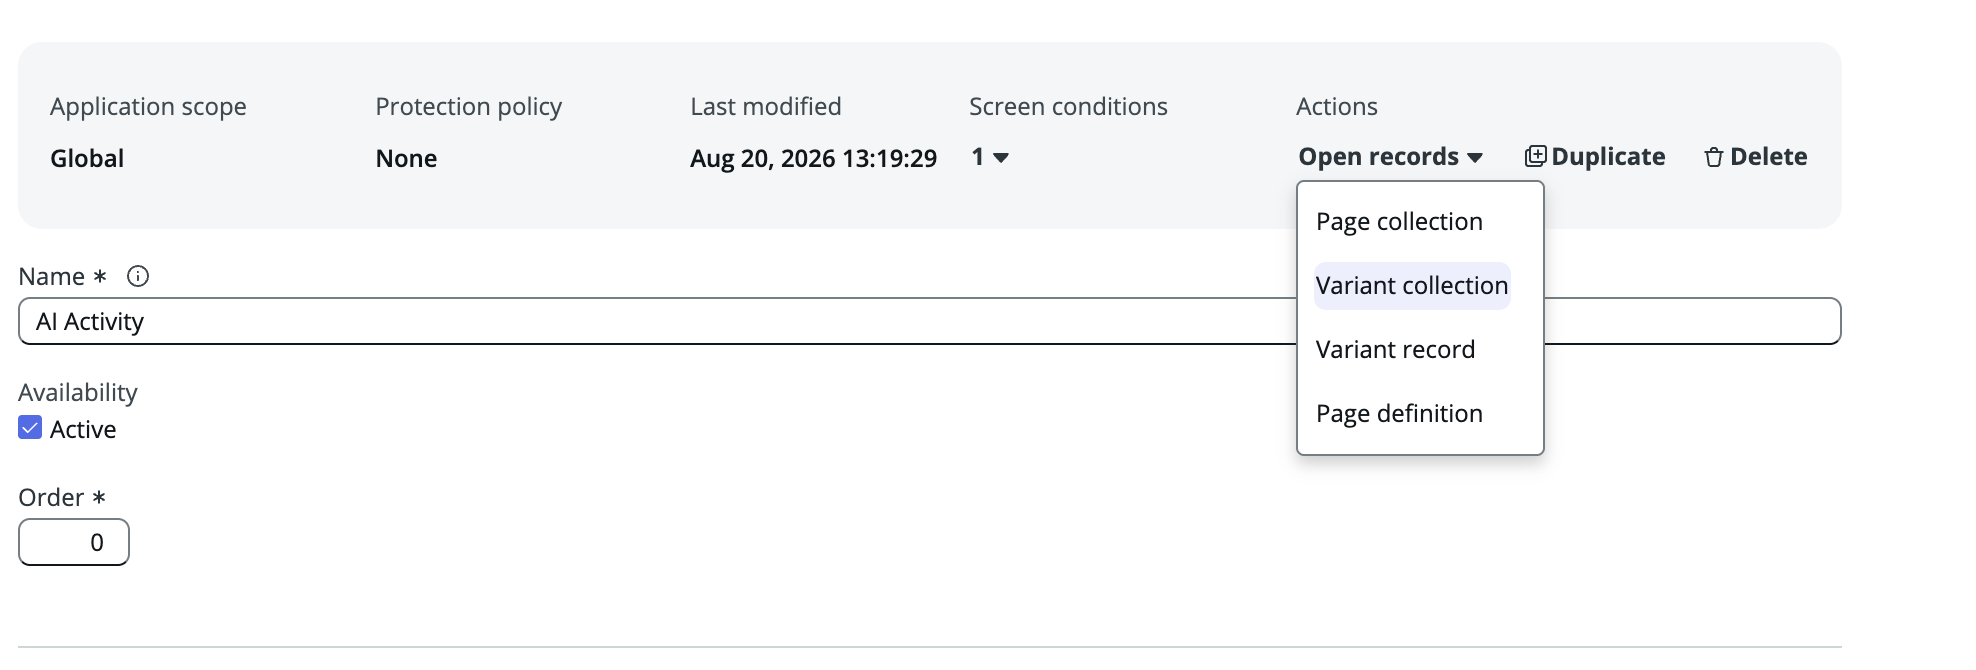
Flip back to the Settings at the top of the screen. We’ll next mess with the Variant collection to assign an icon to the sidebar.
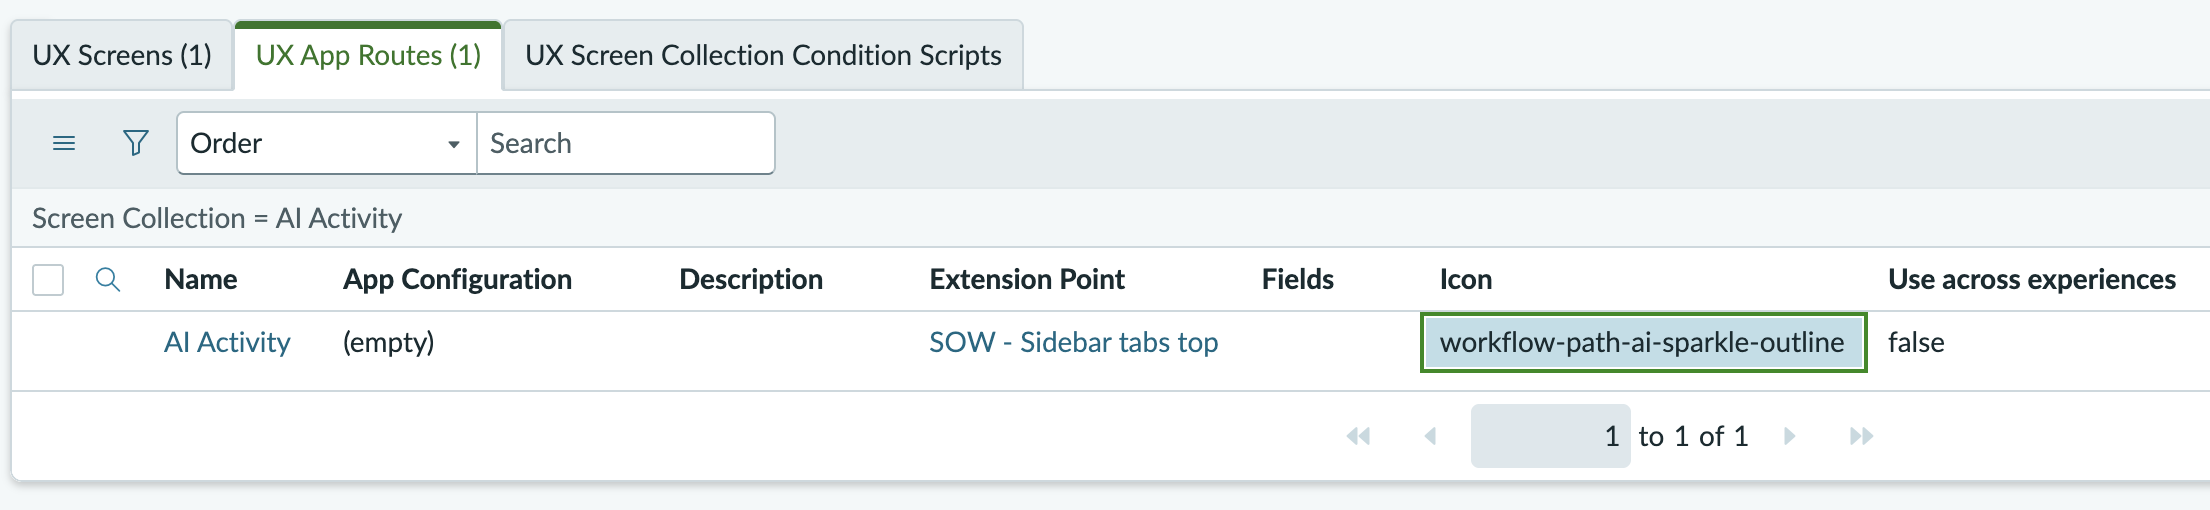
Open the UX App Routes related list and punch in an icon name into the Icon field.
Navigate back to your UI Builder tab and now, under the Tabs section, choose Add.
Start from an empty container. Set the label to AI Workflows. Choose whatever icon you want. Then, just add Interactive View Experience to the tab, and you’re done!
Re-written as a simple numbered list
- Open the record page in UI Builder.
- Locate the “Tab sidebar” content, and then from the right-side of the screen, edit the page collection by clicking the “Edit content” button.
- Add a new page titled “AI Activity,” with variant “AI Activity,” and “Build responsive” selected.
- Open the settings for “AI Activity”, specifying an order, and adding a screen condition (grab script from above).
- Optionally, add any table restrictions (see guidance above).
- In the Editor screen, add content of a column and Interactive View Experience. Save.
- Back on the Settings screen, under “Actions,” open the “Variant collection.”
- In the “UX App Routes” related list, assign a value in the “Icon” field.
- On the UI Builder tab, under the “Tabs” section, add a new empty container with an icon of your choice.
- Add “Interactive View Experience” to that tab and save.